A quick story about which programs I use to prepare images for this blog.

The batch script I use is located in my Hexo folder in a sub-folder called optimization. The script itself is called optimize.bat. To use it I run this from the command line:
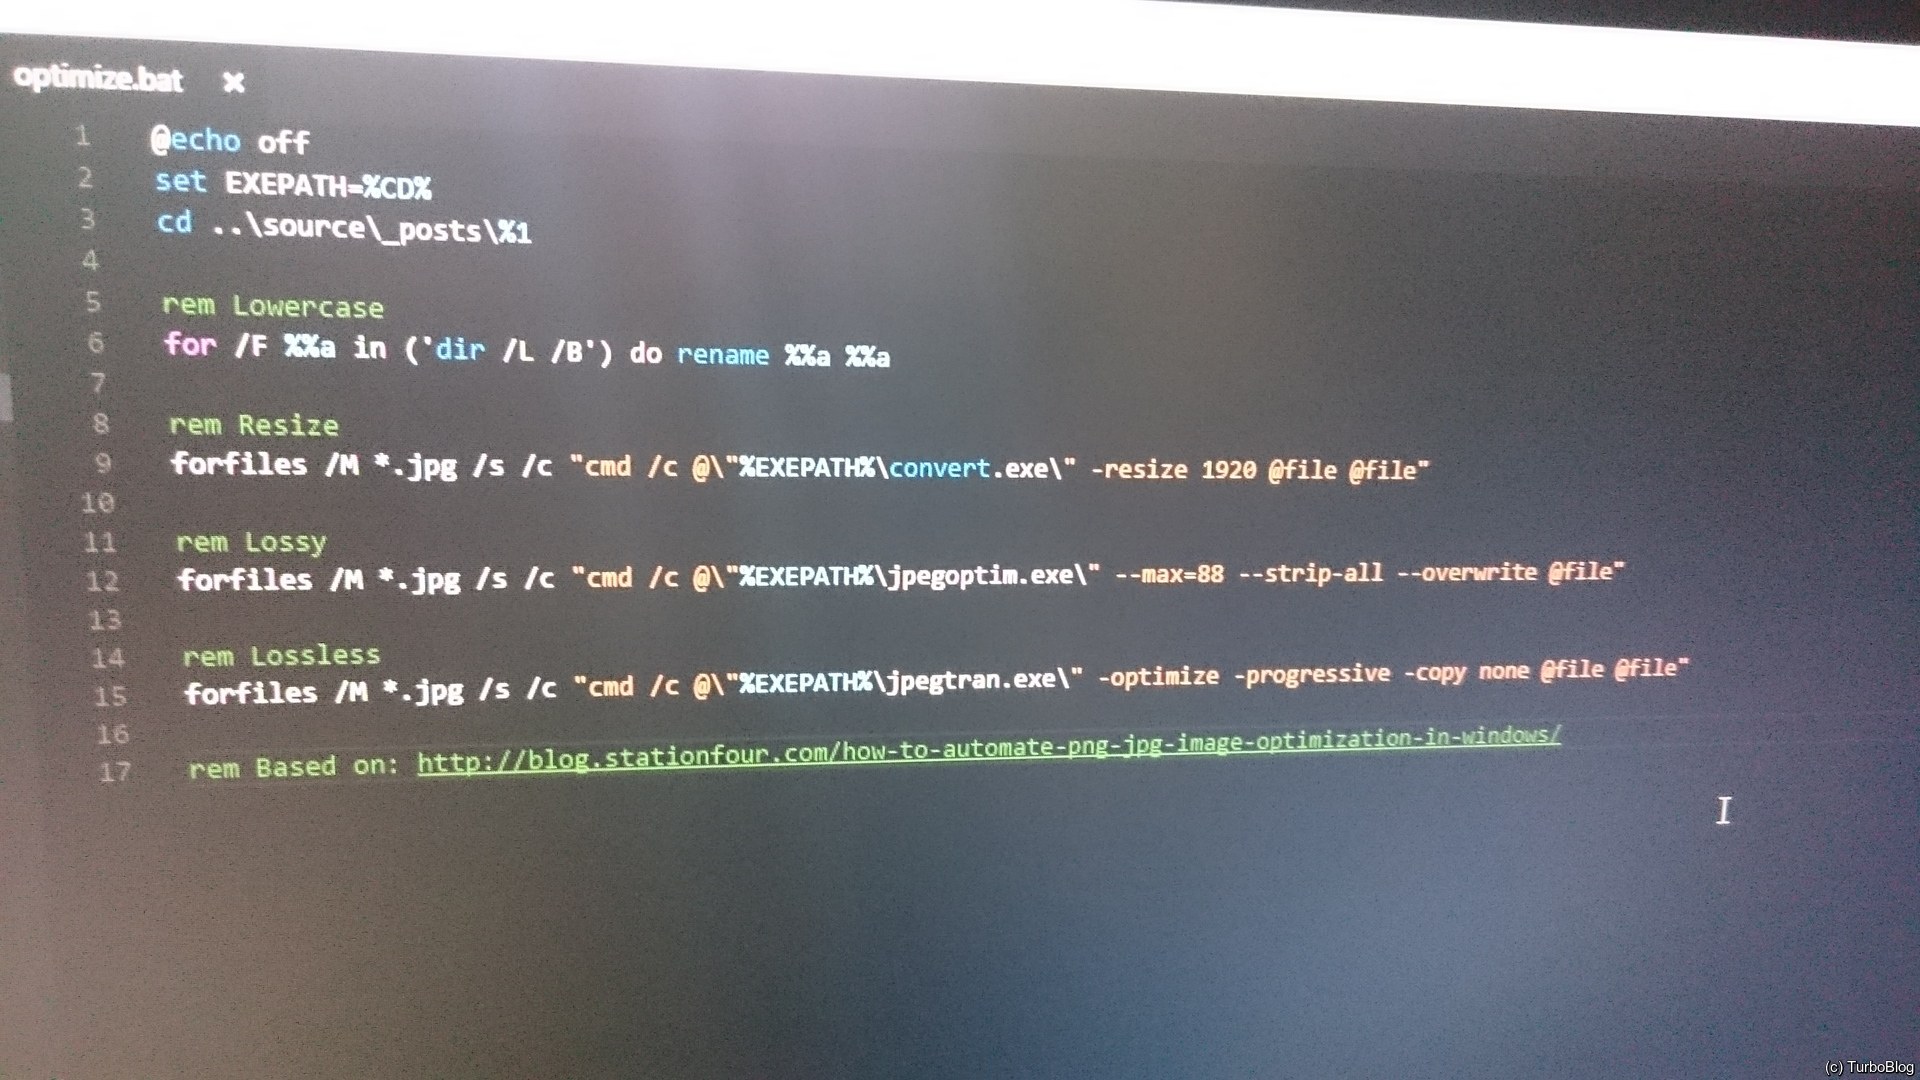
Here’s the actual code:
|
|
This script is based on the one described here:
http://blog.stationfour.com/how-to-automate-png-jpg-image-optimization-in-windows/
Here’s what going on:
First I convert all filenames to lowercased, based on a StackOverflow answer; this is needed for consistency, so that when I move my files to Linux or other systems where filenames are case sensitive (e.g.
foo,FooandFOOare 3 different files), I won’t run into problems.Then I use
convert.exefrom ImageMagick’sportable-Q16-x64Windows binary to resize everything to a maximum width of 1920 pixels and watermark it; problem here is that it also upscales images, so will need to update this part in the future.
Out of all that package I neededconvert.exe,magic.xmlandtype.xml.jpegoptim.exeis next and it simply converts the image to quality of 88 (arbitrary number that I like and seems to strike good balance between image quality and file size) and removes all meta-data.Last step for JPEGs is
jpegtran.exewhich does lossless optimization to squeeze a couple extra kilobytes from what’s left after the previous step.Watermarking for PNGs is currently the same as for JPEGs, but I want to this to be a separate step in case I decide to change something in the future.
Last but not least is pngout.exe that makes PNGs really small without any quality loss.
Size of that photo at the beginning of this post was reduced from 3 340 228 bytes (8 megapixels) to just 351 148 bytes (1920 by 1080)! Almost 10 times (9.5 to be exact)!
Fun fact: while writing this post I modified my script quite a bit and the image you see at the beginning is the first version.